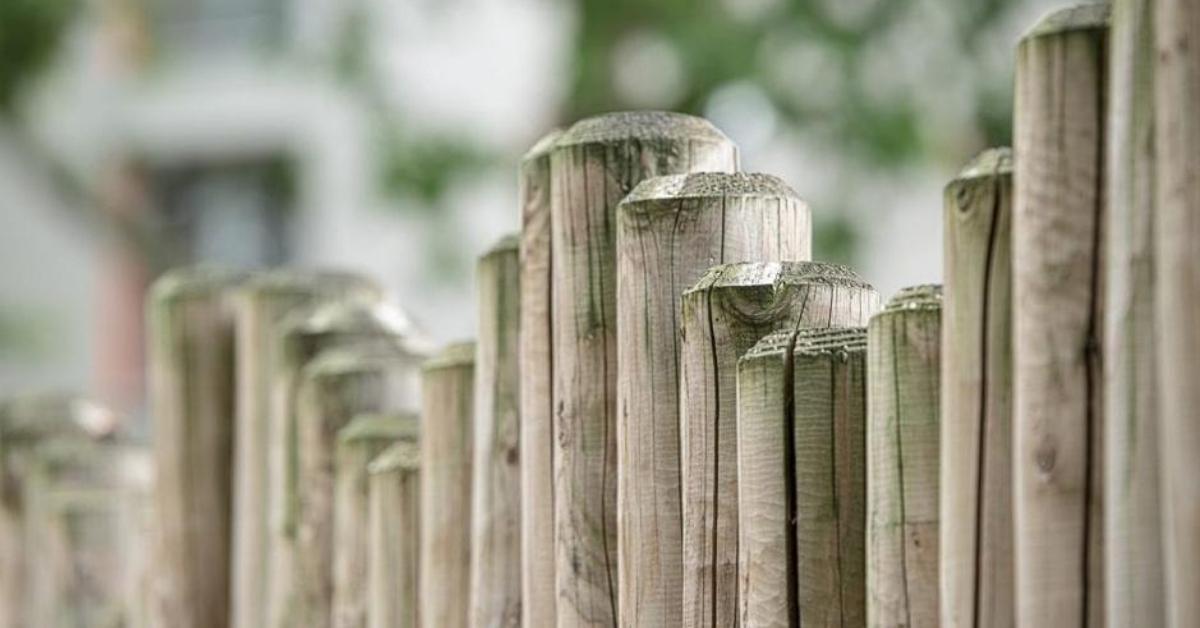
PRO Fencing’s Top Tips For Easy DIY Deck and Fence Repair
So, a small update on the timber world. There’s been a lumber shortage in the West; products such as decking, timber and fence boards were the trickiest to source in the past months.
This followed an explosion of DIY enthusiasm among lockdown stay-at-homers, and a race among hospitality businesses to install `safe’ outdoor seating areas.
Historic levels of demand coincided with warm and dry weather, lending itself perfectly to the task, and the industry hasn’t had a moment’s rest since. Even here in Surrey, where our timber is almost all UK production, it’s been a busy three months. Lots of demand for repairs and replacement while people were at home to enjoy the result, coupled with necessary safety measures for our staff, means we’ve experienced shortages as well.
However, as a business our lead times now average out to around half those of our competitors.
Since the dry season is here and not everyone has access to expert timber specialists, here’s a list of rather useful DIY tips for easy fence repair. Small, temporary fixes that will bring you peace of mind and buy you time while the madness calms down.
If they don’t quite make the cut, our PRO Fencing division can help.
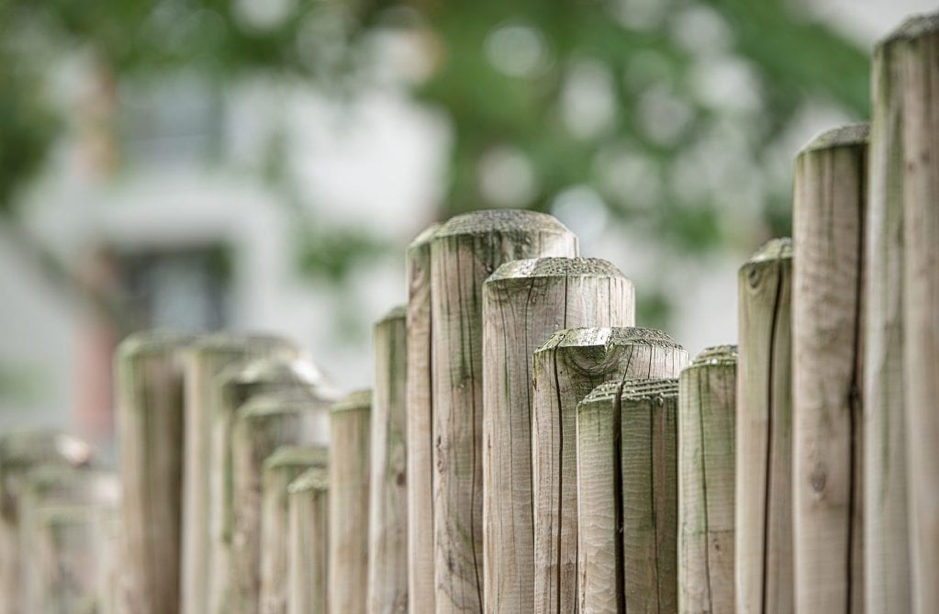
1. Spot the damage to your fencing and decking
If you can’t remember the last time you hit `refresh’ on your fence and deck, chances are there’s damage in need of repair.
Look closely at your timber structures. Is anything broken? Loose? Leaning at a worrying angle?
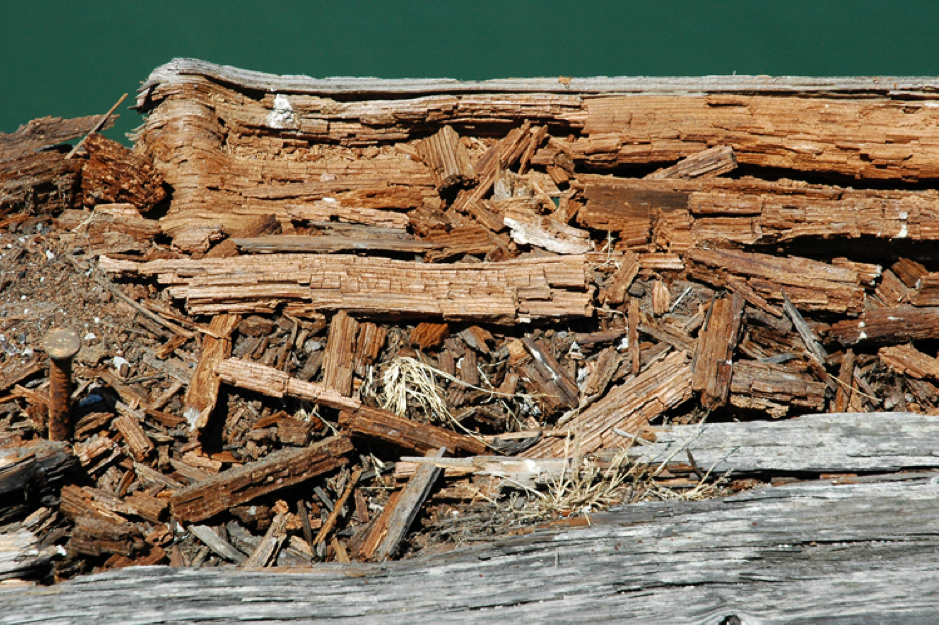
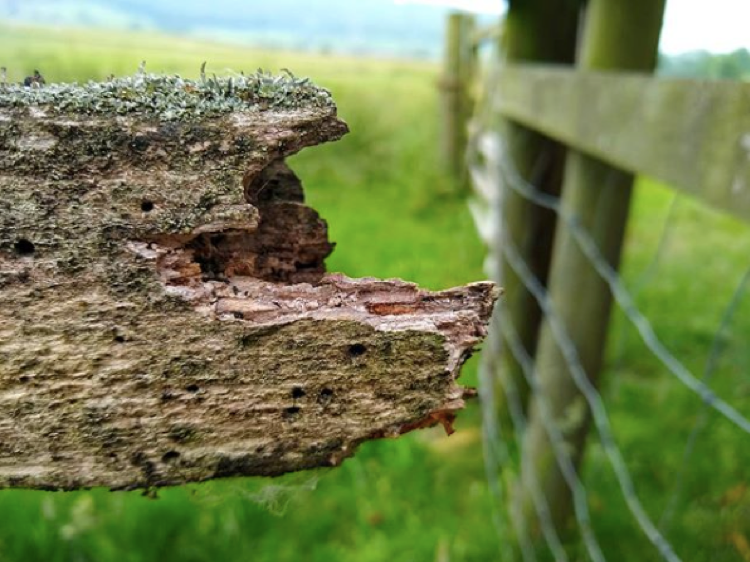
Now for the wood itself: exposure to the elements causes discolouration, staining, the fraying of fibres and mildew. Don’t look just at the wide surfaces; humidity will collect near the bottom, along the sides, and wherever planks overlap and come together.
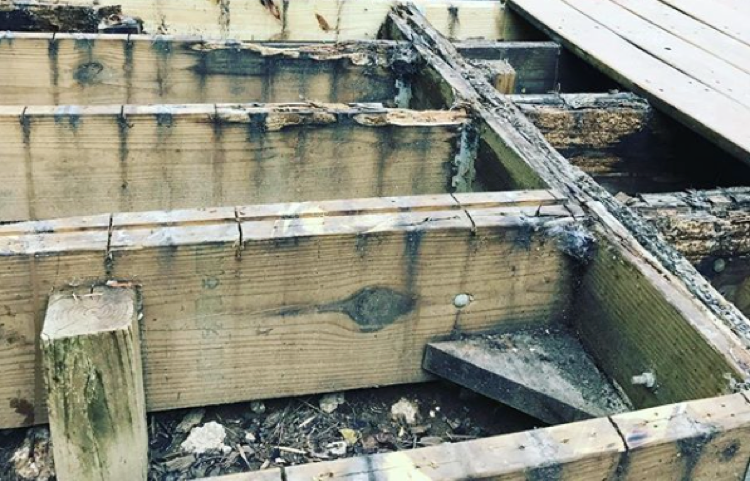
If you’ve recently acquired a property and are discovering the state of the fencing, there may even be rot. In this case, the wood will be dry and crumbly, coming away in your fingers with little pressure. Look for this especially in decking, as it bears our weight.
2. Determine the scale of damage to your fencing
Exactly how far does the damage extend? Experienced professionals will tell you that if half of your fence is damaged, it’s likely to need a full replacement.
Remember, these tips are for spot concealing. No amount of shaving, filler or wood stain will disguise or eliminate the fact that wood gone bad will no longer provide the stability, looks or privacy it is supposed to.
The scale of the wood damage will give you an idea of what kind of supplies you’ll need, and how long the repair will take you. For instance, patches of fraying fibres on decking can be sanded down in an afternoon; however, rot at the bottom of fence posts will affect the integrity of the structure and will need professional attention.
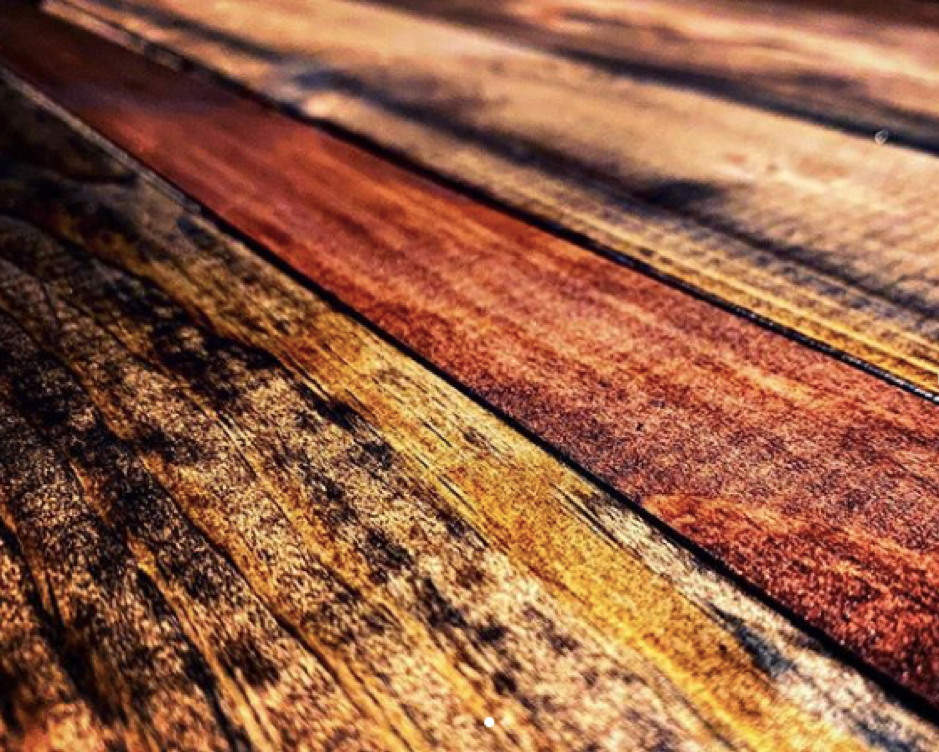
3. Sand down your wood before working on it
But only if isn’t composite. You don’t want to sand down composite! The fibres are engineered and combined with plastic for lightweight durability. Sanding that would a) scratch your decking, and b) give your throat the exfoliation of a lifetime.
Still, everyone knows wood needs sanding before it gets worked on. It’s one of those little nuggets of untraceable knowledge we all possess. It’s the kind of thing whereby we trundle along as adults, certain of not much in life except knowing that inanimate objects will work better if you slap them, milk comes after boiling water, and cows lie down if it’s about to rain.
Start with a heavier grit to get the rougher areas and then use a finer grit to smooth out surfaces ready to painting or staining.
4. Cut the wood you need to
Some projects need replacement wood. In this case, it’s essential to start with a good cut job to make sure the new timber and planks fit snugly.
If you’re worried about doing this yourself, let us know. Bespoke gates and fences are PRO Fencing’s speciality; they only look simple, and trying to get decking stable after altering the structure of it requires planning (and a fair bit of head scratching if you’ve not done it before).
For a neat finish, the sawn bits will need sanding too.
5. Primp and polish your fencing and decking
To make sure your hard work doesn’t go to waste, extend the life of your fence and deck by applying a weather-repellent protective coat of wood stain or primer before painting. Something semi-transparent will let the grain shine through and help preserve that natural, beautiful woody look. As for deck cleaners, research which products do not contain harsh chemicals that can stain the wood (make sure to use cleaners before staining, though.)
The purpose of the polishing process is to help prevent cracks and peeling and the product itself will nourish the wood and give it some colour back. You might even find you like the refreshed look and leave it as is.
6. Maintain your hard work
To avoid mould and mildew, try cleaning your wooden surfaces regularly.
Upkeep and maintenance is key to extending the life and looks of your timber structures. The longer and more direct the exposure, the more they will suffer damage in the long run.
Stay in touch with WL West & Sons
Once again, these are temporary solutions to decking and fence repair. We always recommend seeking professional input wherever possible. For updates and news on timber, stock and services, follow us on Facebook, Twitter, or Instagram.

